Easy Ways to Find Out What Motherboard You Have in Your PC
The motherboard, often referred to as the heart of a computer, is the primary circuit board that houses vital components such as the Central Processing Unit (CPU), Random Access Memory (RAM), and chipset. It also provides connectors for other peripherals like graphics cards, hard drives, and optical drives.
Knowing the specifics of your motherboard manufacturer and model is crucial when considering hardware upgrades. What processor slot does your PC have, how much RAM can it support, etc?
You can also use this information for troubleshooting system issues or to simply understand the capabilities of your computer. This comprehensive guide will walk you through various methods to check what kind of motherboard you have on your Windows 10 or 11 PC.
1. Using System Information to Check Your Motherboard
The most straightforward and easiest way to find out what motherboard you have is to use the built-in Windows System Information tool. This utility provides a system summary, including the motherboard model and manufacturer. Here’s how to quickly check your motherboard using the System Information tool:
- Navigate to the Start Menu and select ‘Windows Tools’.
- Scroll down and click on ‘System Information’.
- In the System Information window, click on ‘System Summary’ on the left panel.
- Look for “Baseboard Manufacturer” and “BaseBoard Product” on the right panel. These entries will give you the details of your motherboard.
This method is simple and doesn’t require any additional software. However, it might not provide all the information you need, especially if you’re looking for specific details about your motherboard’s chipset or supported RAM types. In such cases, you might need to refer to the motherboard manufacturer’s website or use a third-party tool that provides more detailed hardware information.
2. Using Command Prompt to Identify Your Motherboard
For those who are comfortable with using Windows Command Prompt, here’s how to check hardware (and motherboard) information with a simple command. Here’s how to do it:
- Open the Command Prompt from the Start Menu by typing ‘cmd’ into the Windows search bar and hitting Enter.
- In the Command Prompt window, type in:
wmic baseboard get product,Manufacturerand press Enter. - The command should display the manufacturer and model number of your motherboard.
This command should display the same information as the Windows System Information tool. It’s a quick and easy method, especially if you’re already familiar with using the Command Prompt. However, like the System Information tool, it might not provide all the information you need. For more detailed information, consider using a third-party software tool.
3. Using Third-Party Software to Check Your Motherboard
There are numerous options that can provide detailed information about your motherboard and other hardware components. Tools like HWInfo, Speccy, and CPU-Z can offer more comprehensive data than the built-in Windows tools. These utilities can be especially useful if the System Information tool doesn’t recognize your motherboard or if you need more detailed information about your hardware.
To use these tools, you’ll need to download and install them from their respective websites. Once installed, you can run the software and navigate to the ‘Motherboard’ section to find detailed information about your motherboard, including the model number, chipset, and supported RAM types.
4. Checking the Motherboard Box or Receipts
If you still have the box your motherboard came in or the receipt from when you purchased it, these can be easy ways to find out your motherboard model. This method is particularly useful if you’ve built your PC and kept records of your hardware purchases. The box or receipt should list the full model name of your motherboard, which you can then use for further research or when purchasing upgrades.
5. Physically Checking the Motherboard
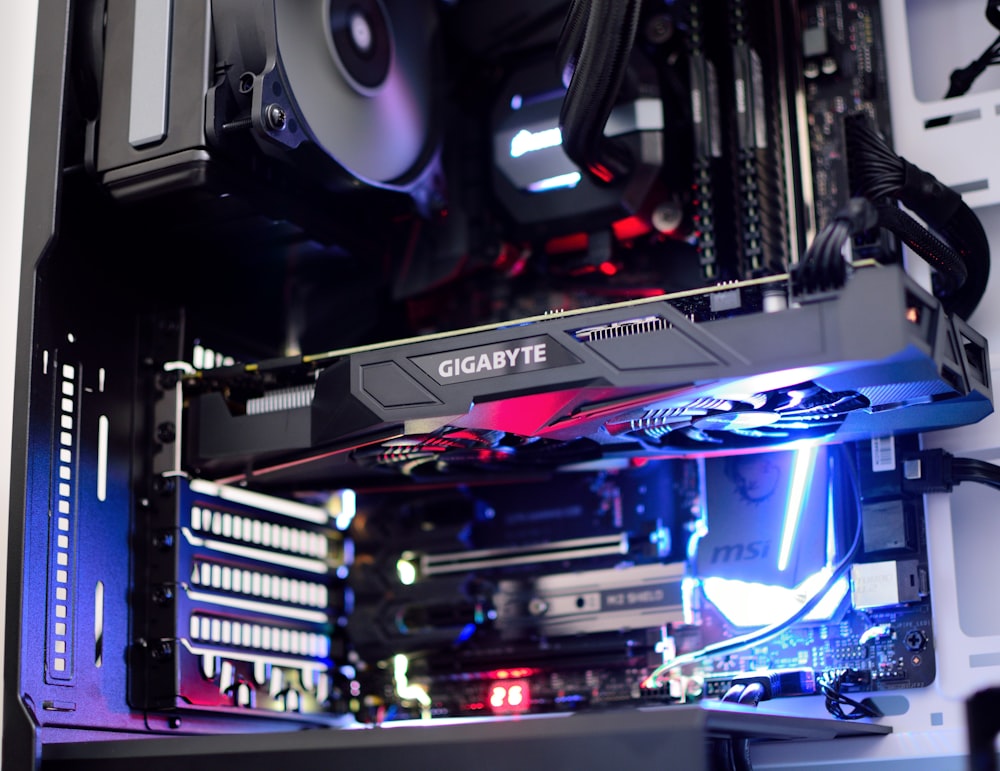
If all else fails, you can always open your PC case to check your motherboard’s model. Most motherboards have their model number printed somewhere on the board. However, this method may require you to remove some components, like the graphics card, to see the model of your motherboard along with its serial number.
Before opening your computer case, make sure to shut down your computer and unplug it from the power source. It’s also a good idea to ground yourself by touching a metal object before handling your computer’s internal components to prevent static electricity from damaging the hardware.
6. Identifying the Motherboard in Prebuilt PCs and Laptops
For prebuilt PCs and laptops, identifying the motherboard can be a bit trickier. Some manufacturers use proprietary motherboards, making it harder to find information about them. However, you should still be able to get basic information about the chipset and other hardware components using the System Information tool or third-party software.
For laptops, you may need to refer to the maintenance manual or use tools like Crucial’s Advisor Tool to see what upgrades are possible. Remember, opening a computer/laptop to see what motherboard can be complex and may void the warranty, so proceed with caution.
Conclusion – Your Easy Quick Guide to Check Your Motherboard
In conclusion, there are several ways to check what motherboard you have on your Windows PC. Whether you’re planning an upgrade, troubleshooting a problem, or simply curious, you now know how to check your motherboard model.
If you aren’t very tech-savvy, repairing or upgrading your PC yourself might not be a good idea. Get quick support from the best experts here.


